Posts tagged with 'windows'

Kevin Groves talks about the movie Pirates of Silicon Valley and the history of personal computing. Note: this is an extra large episode of Cross Cutting Concerns. This is a very broad, historical topic, so it could have easily gone a lot longer!
Show Notes:
- Pirates of Silicon Valley is available on Amazon
- The January 1975 issue of Popular Electronics. We couldn't find the issue rummaging through the basement: it may have been destroyed by flooding a few years ago
- Xerox PARC's Alto
- To drive home the point about GUI software, check out this video on the history of widgets from 1990.
- Noah Wyle as Steve Jobs at Macworld 1999
- Obligatory Steve Ballmer clip
- Story from 1982 by Andy Hertzfeld about the interview with Steve Jobs depicted in the movie
- Steve Wozniak on the accuracy of Pirates of Silicon Valley
- Footage of Macworld 1997 in Boston, where Bill Gates appears on screen
I could add a million more links, but instead why don't you leave a comment with your favorite quote, clip, or story about the events that transpired in the movie?
Want to be on the next episode? You can! All you need is the willingness to talk about something technical.
Theme music is "Crosscutting Concerns" by The Dirty Truckers, check out their music on Amazon or iTunes.
This is a repost that originally appeared on the Couchbase Blog: Hyper-V: How to run Ubuntu (or any Linux) on Windows.
I recently needed to install a Linux distro (Ubuntu being my favorite) in Hyper-V on Windows 10. I needed to do this because some internal builds of Couchbase were temporarily broken on Windows, but I still needed to use the latest builds. I’d never used Hyper-V to do this before, but it wasn’t that difficult. And the best part is that it comes with Windows: I don’t have to install VirtualBox or VMWare or anything like that.
Download Ubuntu
There are lots of great Linux distros out there, and Couchbase Server can be run on a variety of them. However, Ubuntu Desktop is my go-to.
The first thing I did was to download an Ubuntu Desktop ISO. I know that Couchbase support for Ubuntu 16 is coming, but for now I want to stick to Ubuntu 14. So, I downloaded an ISO of 14.04.5 (aka Trusty Tahr).
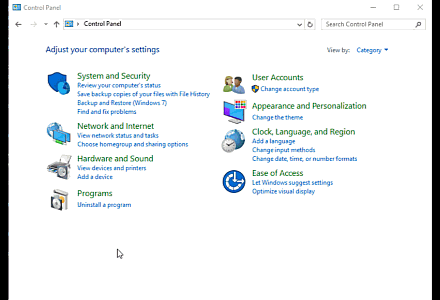
Make sure Hyper-V is enabled
Check to make sure that you have Hyper-V enabled on Windows.
First, open Control Panel. Next, go to Programs. Then, click "Turn Windows features on or off". Finally, locate Hyper-V and click the checkbox (if it isn’t already checked).
You may also need to enable virtualization in the BIOS settings on your computer. The computer I’m using has it turned on by default. I wish I could give you instructions on how to do this, but it’s going to vary based on your BIOS.
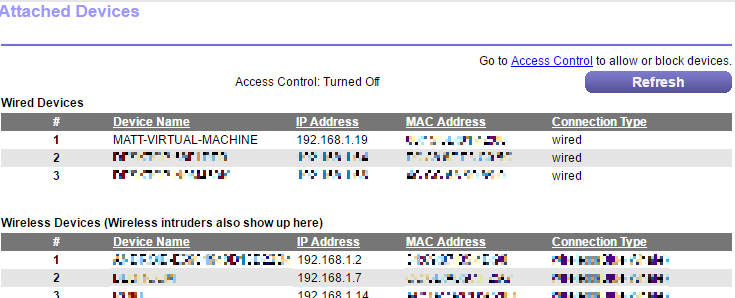
Create a Hyper-V Virtual Switch
When connecting the virtual machine to a network, you’ll need to select a virtual switch. If you haven’t done this before, you’ll need to create one.
First, click "Virtual Switch Manager", then select "External". Click "Create Virtual Switch". Finally, give the switch a name. (You also need to choose an external network; in my case I only have one). Hit "Apply".
I wanted my machine to be connected to my home network, so I chose External. If you use External, it will connect to your network as a separate machine. After I create the machine (in the next section) it will appear on my router as it’s own machine:
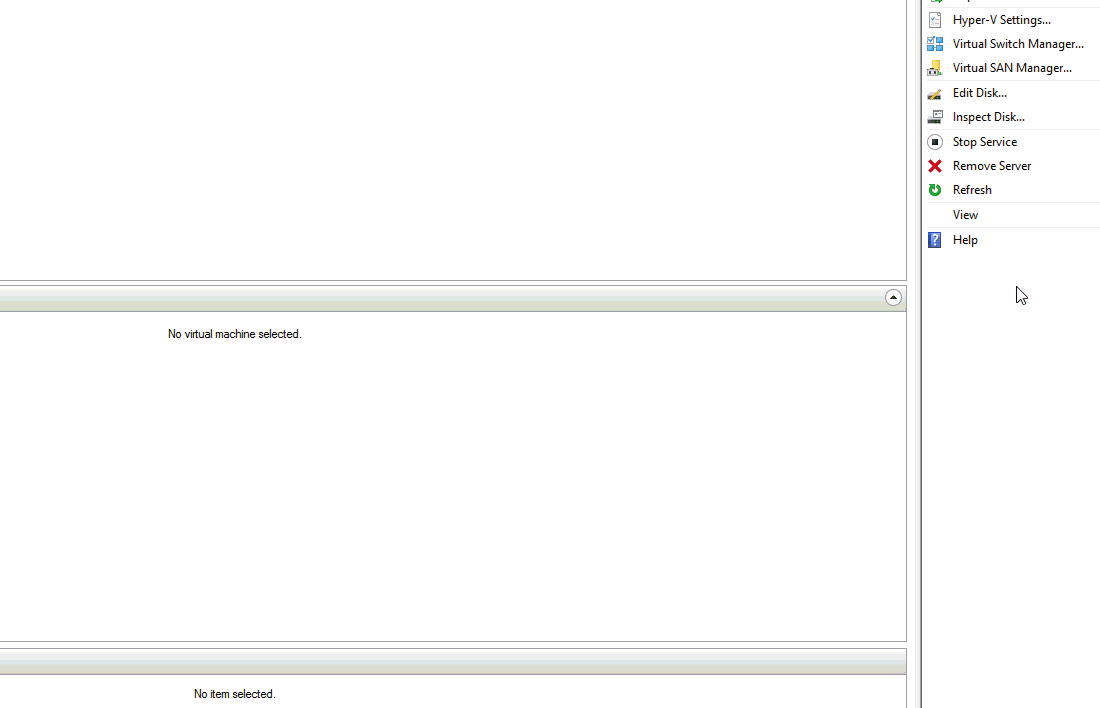
Create a new Hyper-V Virtual Machine
Now you’re ready to create the virtual machine that will be running Ubuntu.
First, open the Hyper-V Manager from the Start menu. Then, click "New" and then "Virtual Machine". This will start a wizard.
First, give your machine a name (like "UbuntuForCouchbase"). Optionally, you can choose where to store this machine, or use the default directory.
Next, you must choose Generation 1 or Generation 2. I used Generation 1, but Ubuntu 14+ should work on Generation 2 as well.
After that, specify how much memory to allocate to the machine. I have a lot of RAM on my desktop, so I gave it 8192mb.
Next, select the switch that was created in the previous section.
Then, setup the virtual hard disk to your liking. You can choose the location and size of the disk. I don’t need very much, so I went with 60gb.
Finally, you need to select an operating system. I’ll choose "Install an operating system from a bootable CD/DVD-ROM", and then "Image file", and find the Ubuntu ISO that I downloaded.
Click "Next", view the summary, and click "Finish".

Start the machine and install Couchbase
Now that you’ve created a machine, you must start it. Right-click on the machine and select "Start" (or there’s a "Start" button in the actions menu to the right).
This starts the machine, but you can’t actually see the machine yet. You have to "Connect" to the machine to see what it’s doing. Right-click and select "Connect" (or again, there’s a "Connect" button in the actions menu to the right).
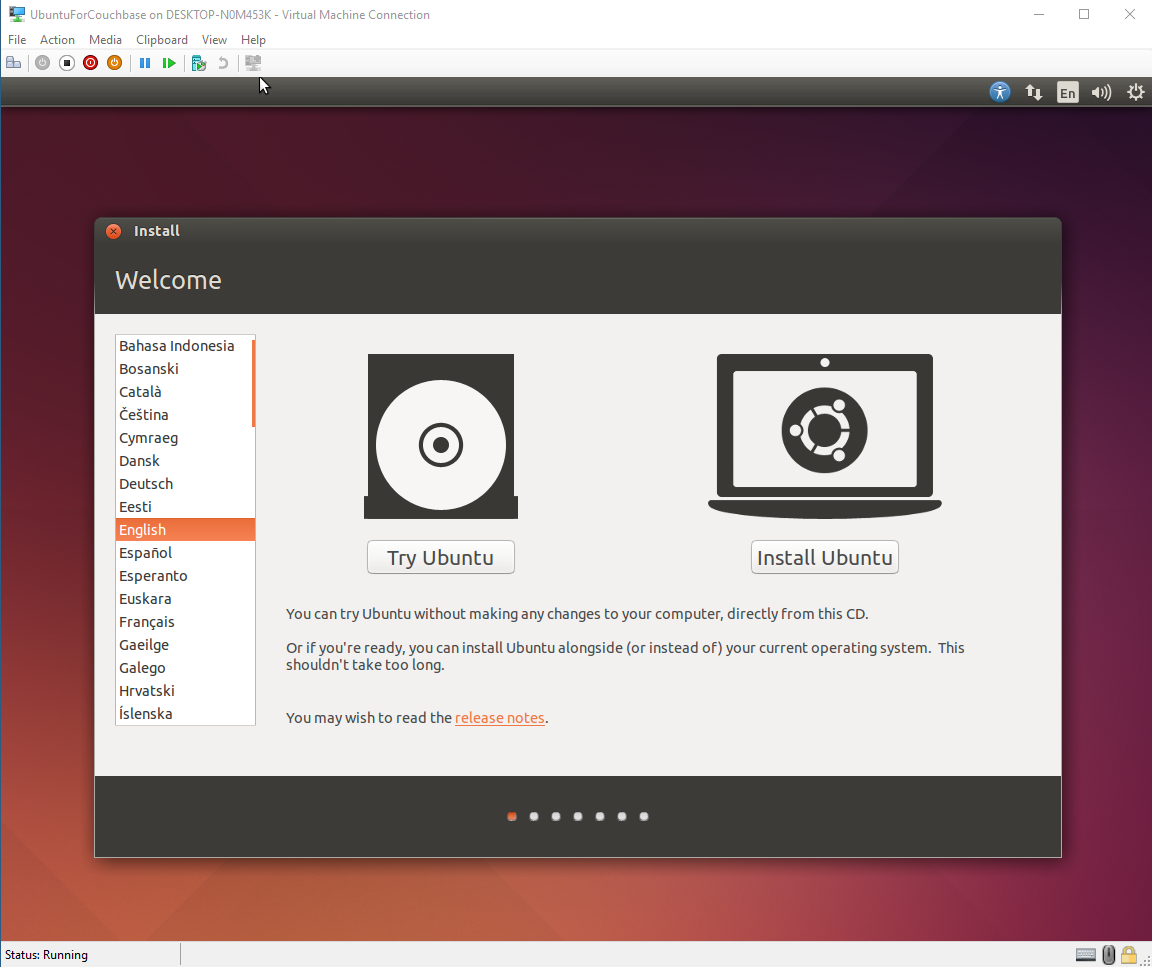
I won’t go through the installation process, since Ubuntu’s installation is pretty easy and self-explanatory (and well-documented).
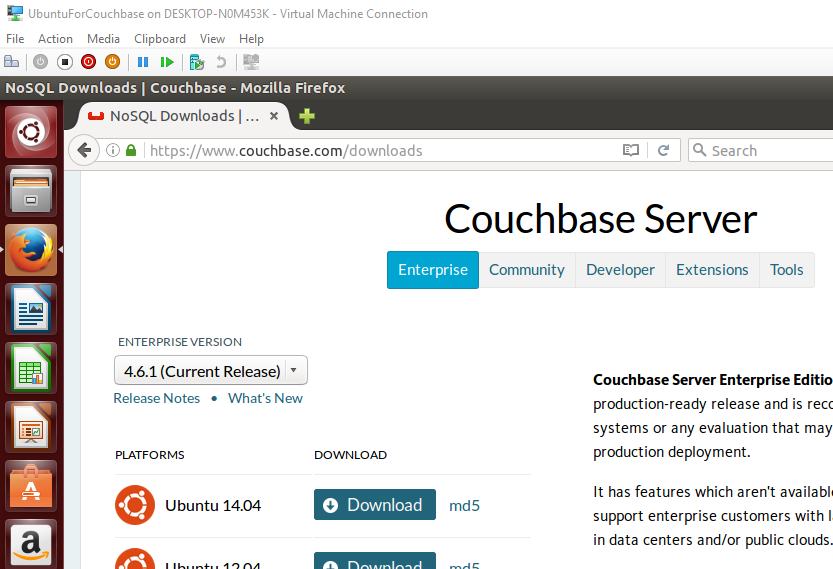
At the end of the Ubuntu installation, installing Couchbase Server is also pretty easy and self-explanatory. Just go to the Couchbase downloads page and select the Ubuntu 14 version of Couchbase.
Summary
I normally use the Windows version of Couchbase, but sometimes I need to use Ubuntu (or other Linux distros). Hyper-V on Windows is a convenient way for me to spin up virtual machines.
If you have any questions about Couchbase, please ask away in the Couchbase Forums or check out the Couchbase Developer Portal.
You can also contact me at Twitter @mgroves.
- Normal windows release (works with Windows 10, Windows Server, etc but not Anniversary Update)
- Windows 10 Anniversary Edition Developer Preview (DP) release
- Couchbase Server 4.6 has been released
- Couchbase Server 4.6 officially supports Windows 10 Anniversary Update
So far, going from Windows 10 to the Windows 10 Anniversary Update has been a relatively smooth transition.
The highlights for me is Bash on Ubuntu on Windows. One of the coolest darn things that Windows has added in a long time. I was able to kick off a Riak server (for instance) without VMWare or VirtualBox! YOW
Two problems I ran into:
- Some Cisco VPN tool was no longer compatible. I think this is from a previous job, and it's not a concern for me. I can imagine this could be devastating for others.
- "WMVCore.dll was not found" when I try to run Camtasia Studio or Camtasia Recorder.
That last error I've encountered before: when updating to Windows 8 and when updating to Windows 10. Normally the solution is to install a service pack, as TechSmith notes in their support forums. That didn't work for me.
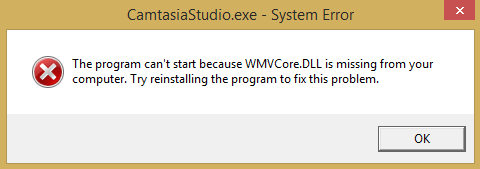
Another option is to copy over the DLL files from the Windows.old folder. That might have worked, except I jumped the gun and cleaned that folder off my hard drive before I could save the DLLs!
Another option is to download WMVCore.dll from a site like dll-files.com. I'm sure dll-files is legit, but this option makes me uncomfortable, especially in regards to Windows system files. But I was desperate. I tried it, and it didn't work for me (I did get a different error, however!)
Finally, I realized that I have another machine running Windows 10! I found the WMVCORE.DLL file that I needed there (in my case, it was in C:\Windows\SysWOW64). I copied it over and got a new error: I was missing mfperfhelper.dll. So I copied that over, and then WMASF.DLL as well. Then, my beloved Camtasia started running again.
These are tools that I depend on to record and edit in-person sessions that I've presented and screencasts, so I'm glad that I got it to work.
I would offer the DLL files here for you, but you really shouldn't be downloading DLL files, especially from some random blog. If you're really desperate, you can ask me on Twitter.
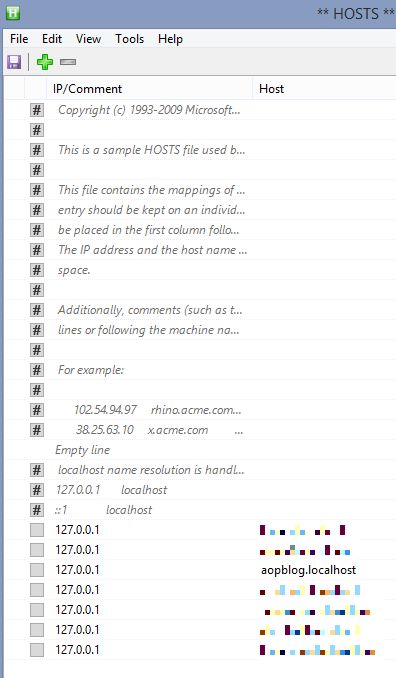
When I'm coding (or just when I'm using my local instance of Ledger), I use IIS. The way I set up my sites is like so:
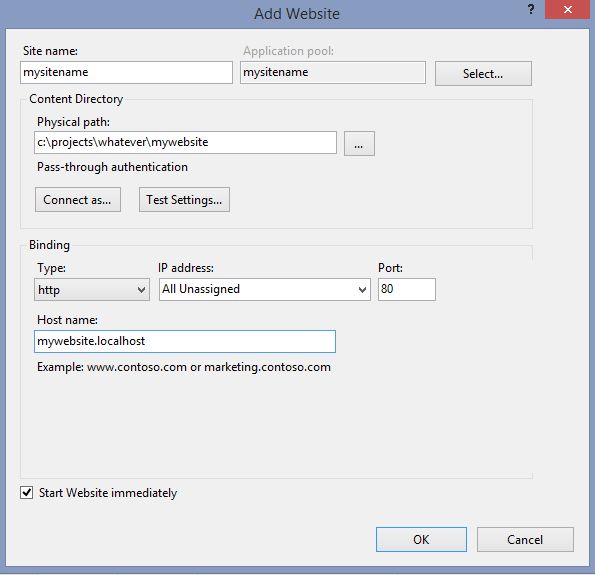
Therefore, when I want to go to a site, I can use "http://mysite.localhost", instead of just using plain localhost and trying to remember a port number. Some people use ".local" and some people use an actual TLD like ".com" Whatever floats your boat; maybe you like port numbers.
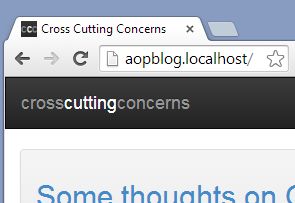
Here's my local instance of this blog site that I use to develop features and fix bugs:
In order to pull this off, I have to define the URL in my hosts file. To do that, I use HostsMan. Sure, I could use a text editor and just add it that way but: a) I don't do this often enough to have that path memorized, b) my text editor needs admin permission to do this, which means I often have to quit out of Notepad++, restart in admin mode, etc. It's just a hassle that I got tired of dealing with. Not to mention that HostsMan gives me a nice UI to manage hosts in an organized way; and it's free.
With HostsMan, you just open it up, click "edit", and add the host.
Might save me a minute, maybe, but a minute less yak shaving is a minute earned.
