ReSharper and mspec tips
I like using mspec to write tests. Here are a couple of tips for getting the most out of mspec with ReSharper.
Tip 1: ReSharper can run mspec tests!
If you use NuGet to install mspec, then look in your /packages/Machine.Specifications.x.y.z/tools folder. You'll see a batch file like InstallResharperRunner.8.2.bat. This will install the mspec ReSharper test running plugin for you. Then those friendly little green test runner dots will show up in Visual Studio.
Tip 2: Use a ReSharper live template to write mspec tests faster
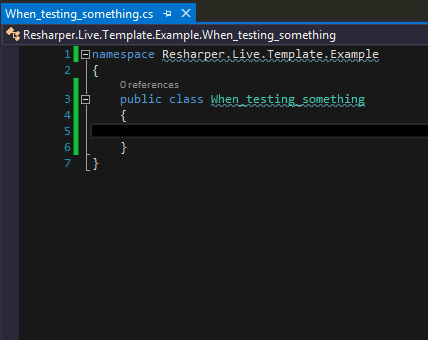
Mspec uses perfectly valid C#, but it's a bit unusual looking and sometimes hard to type all the correct symbols, especially when you are in a hurry. So I created a live template in ReSharper to automatically create the mspec skeleton for me. In Visual Studio, go to Resharper -> Templates Explorer -> C#. Click the New Template icon. I gave mine a shortcut of "mspec" and all I put in it is:
If you've not used ReSharper live templates before, then you're missing out. Just type the shortcut name and hit the tab key and voila.
(Off-topic side note: This is not a paid advertisement, but since I've created a couple of them now, I thought I'd mention that animated GIFs like above are super easy to create with Camtasia Studio from TechSmith, which is also a great tool in general for creating screencasts as well).
